This section describes how to customize labels shown to the user and shows developers how to implement these messages in the plugin. Follow the instructions below:
- To begin the configuration, go to Store/Settings/Configuration/Sales/Worldpay Custom Labels. The Labels screen appears:

- You can configure labels in the three sections provided; checkout labels, my account labels and admin labels.
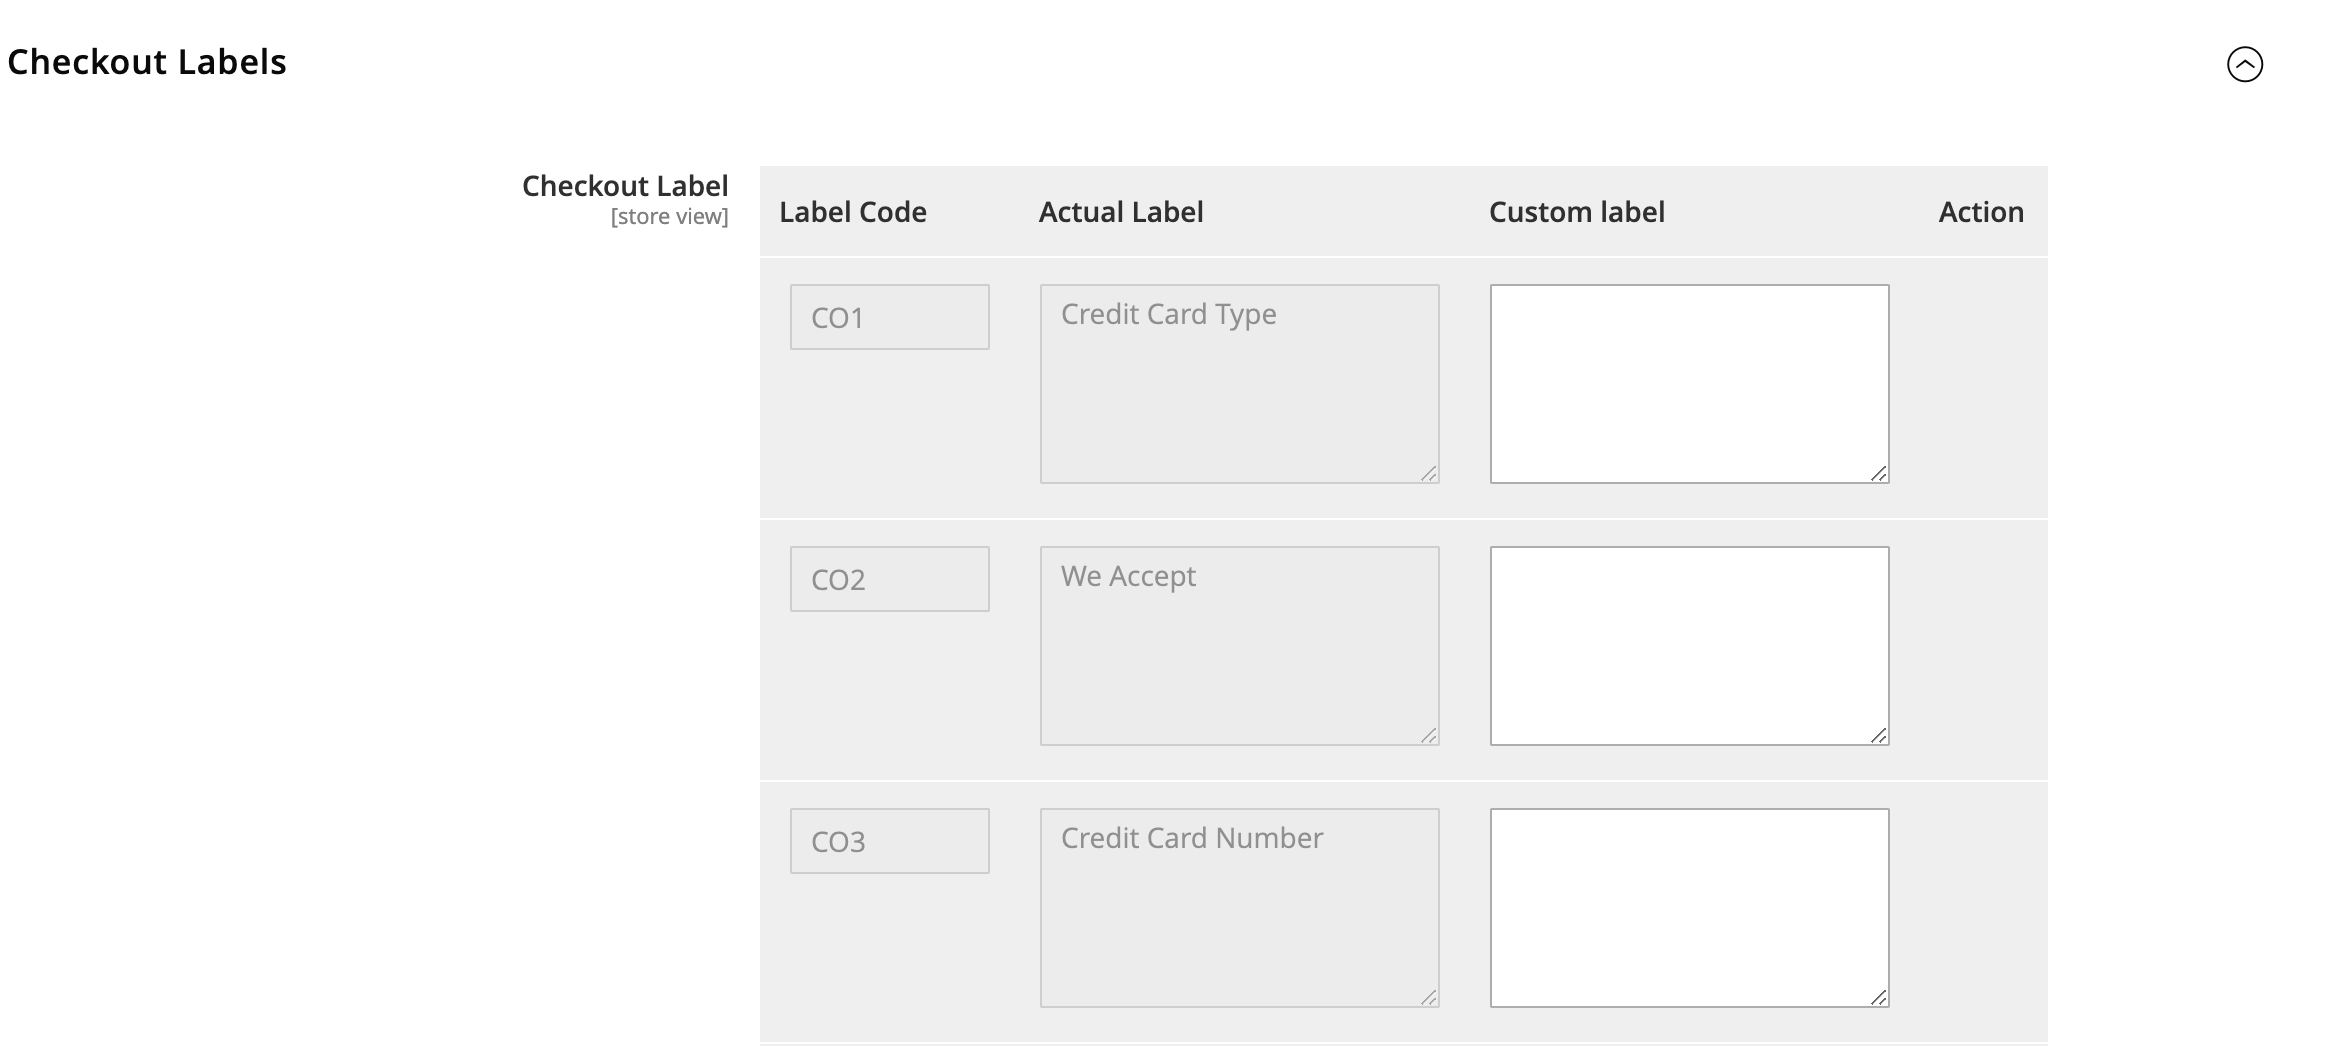
Use this screen to configure checkout labels:
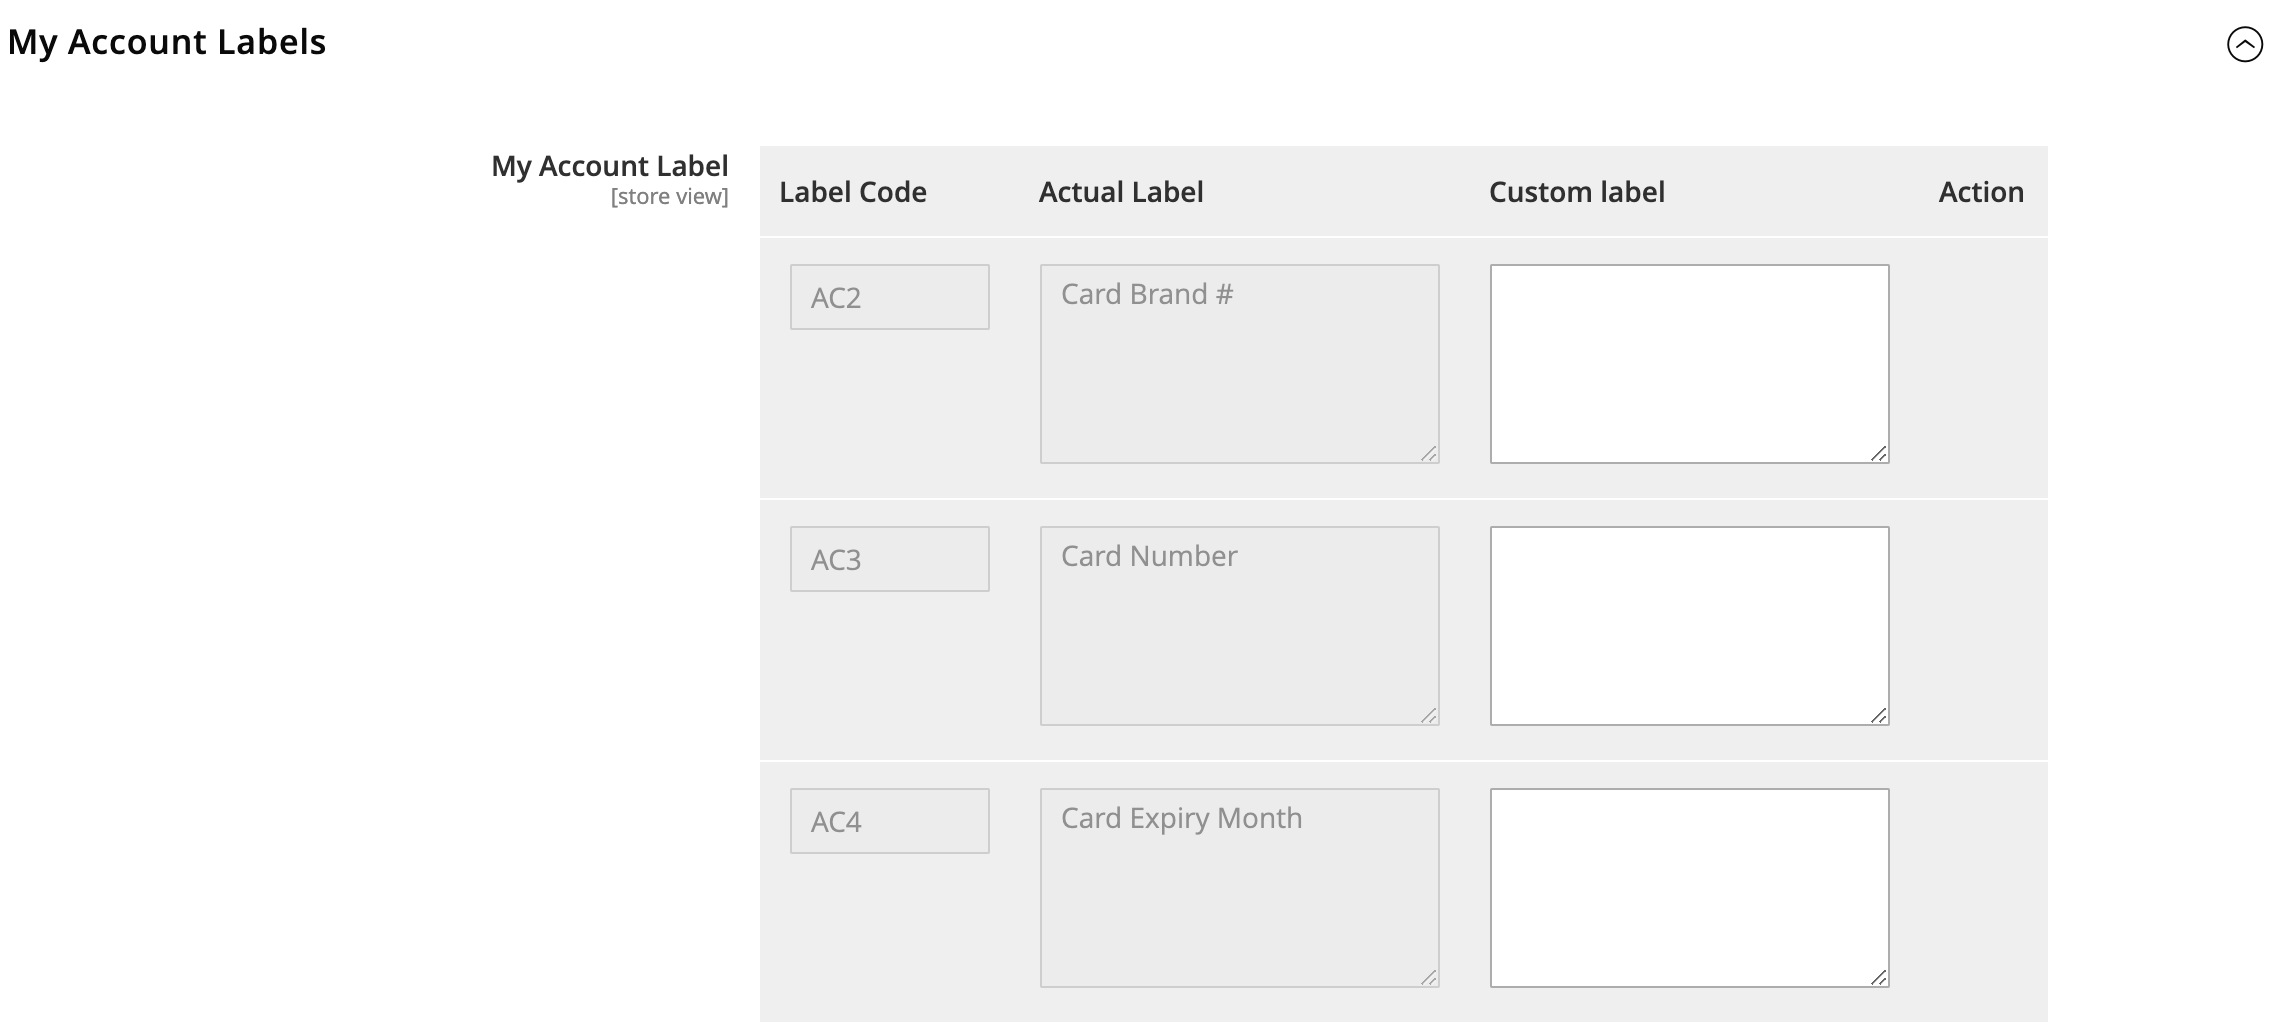
Use this screen to configure My account labels:
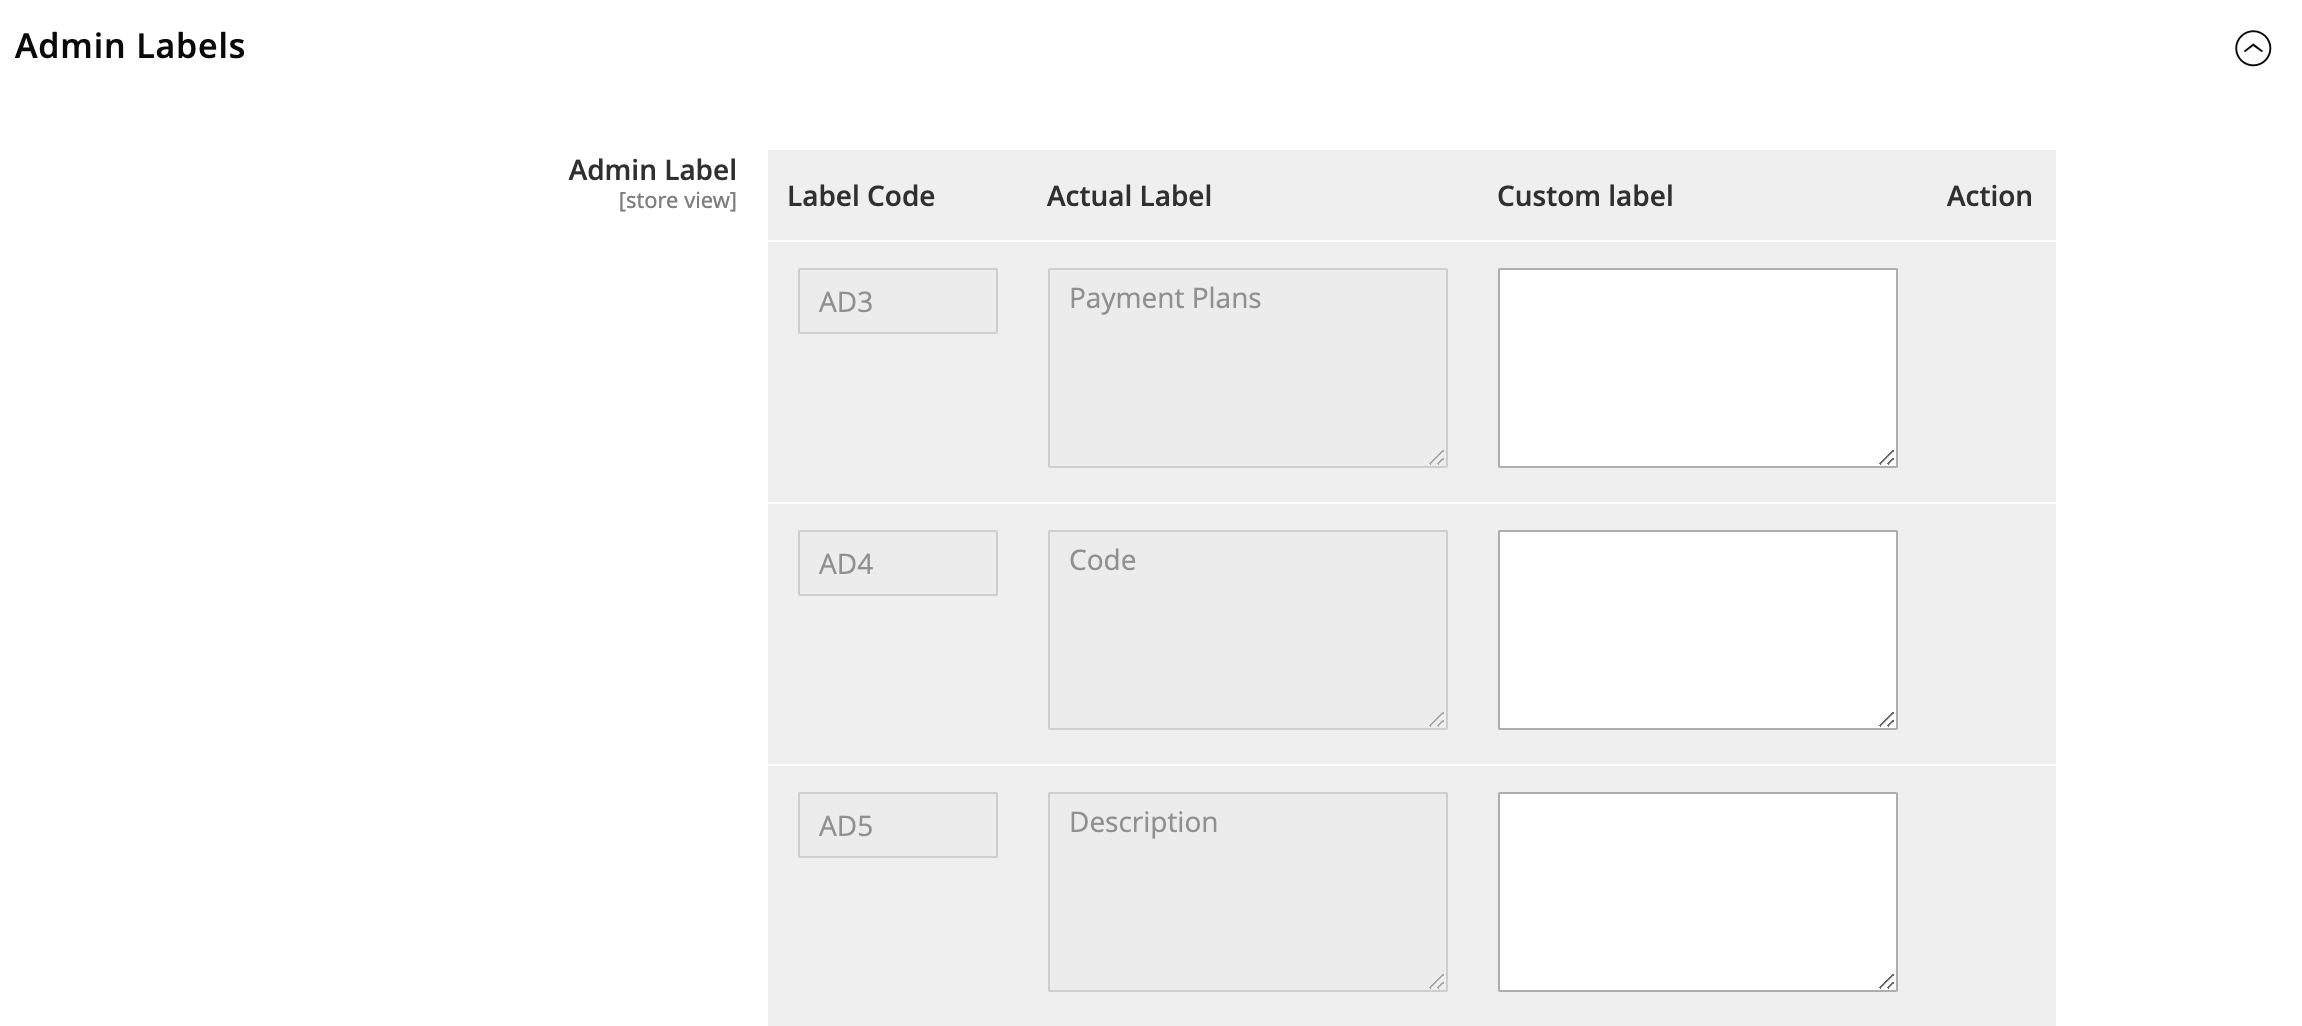
Use this screen to configure Admin labels:
All three configuration screens use the same information to do the configuration. This information is in this table:
| Configuration | Description |
|---|---|
| Label Code | A unique code number assigned to labels. |
| Actual Label | Displays the default label description provided by Worldpay |
| Custom Label | Enables you to add a custom label description against actual label. This label is displayed to the user. |
| Action | If new configuration is to be added by clicking the add button, there is an option to delete this configuration before clicking on save. |
Use the ADD button to add a new configuration at the end of each section. When the admin/developer adds a new configuration, as a developer you can use it in the plugin.
Example
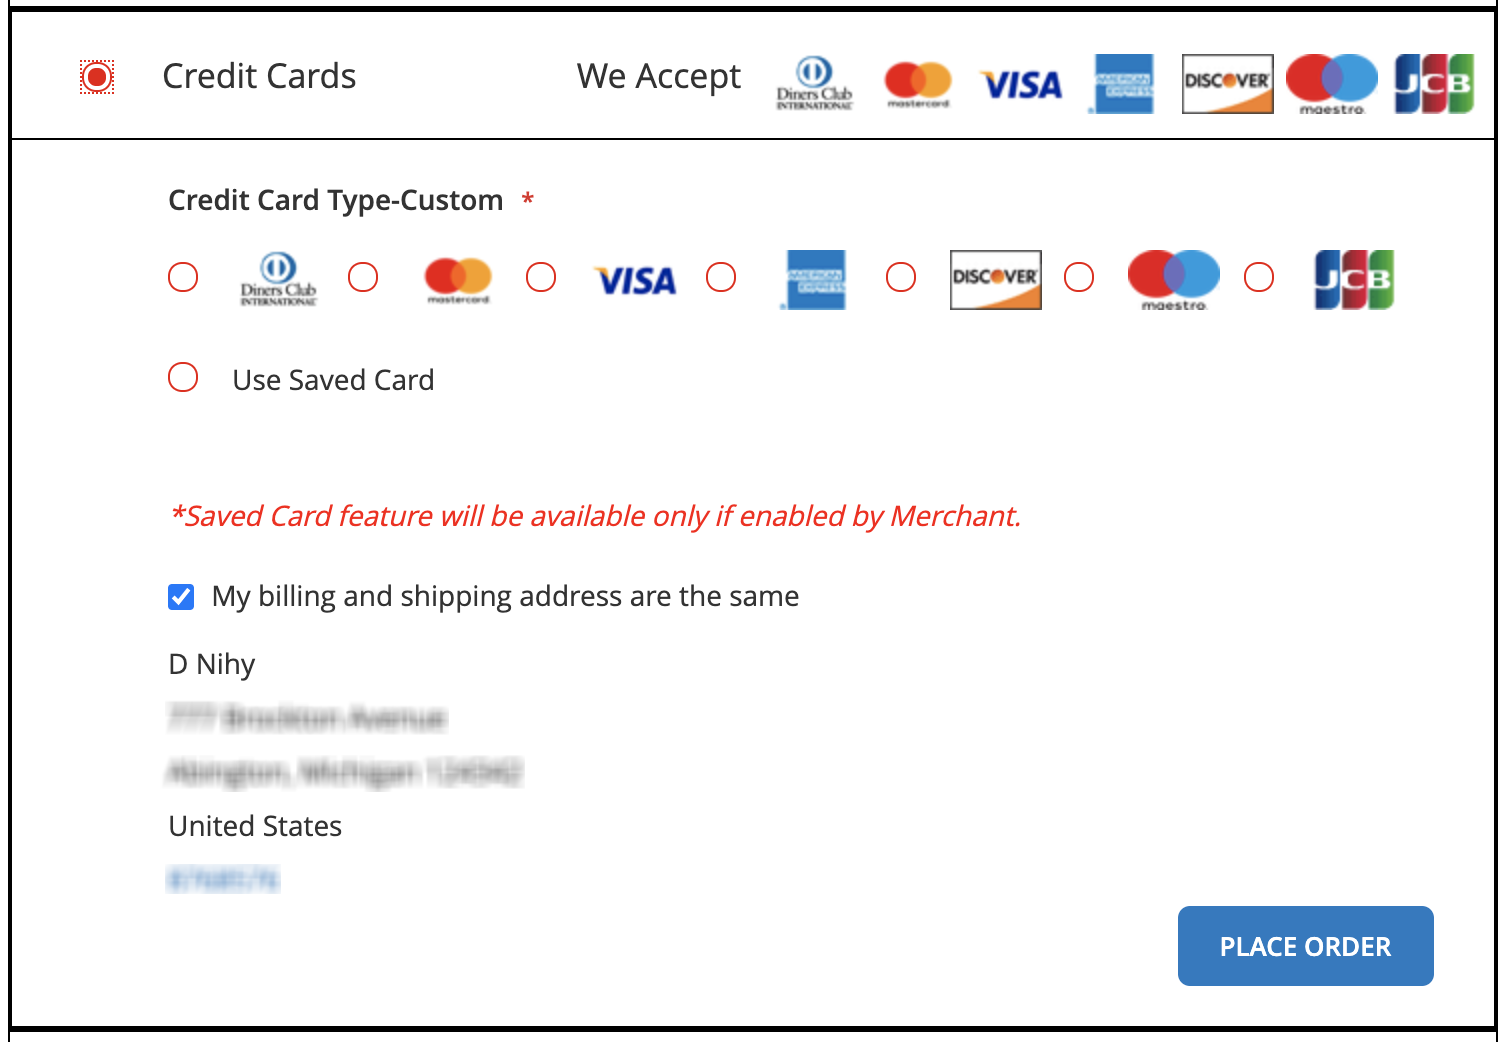
In the scenario below, the default label for credit card type is – Credit Card Type. If you do not give any custom label, the default label appears to the user.

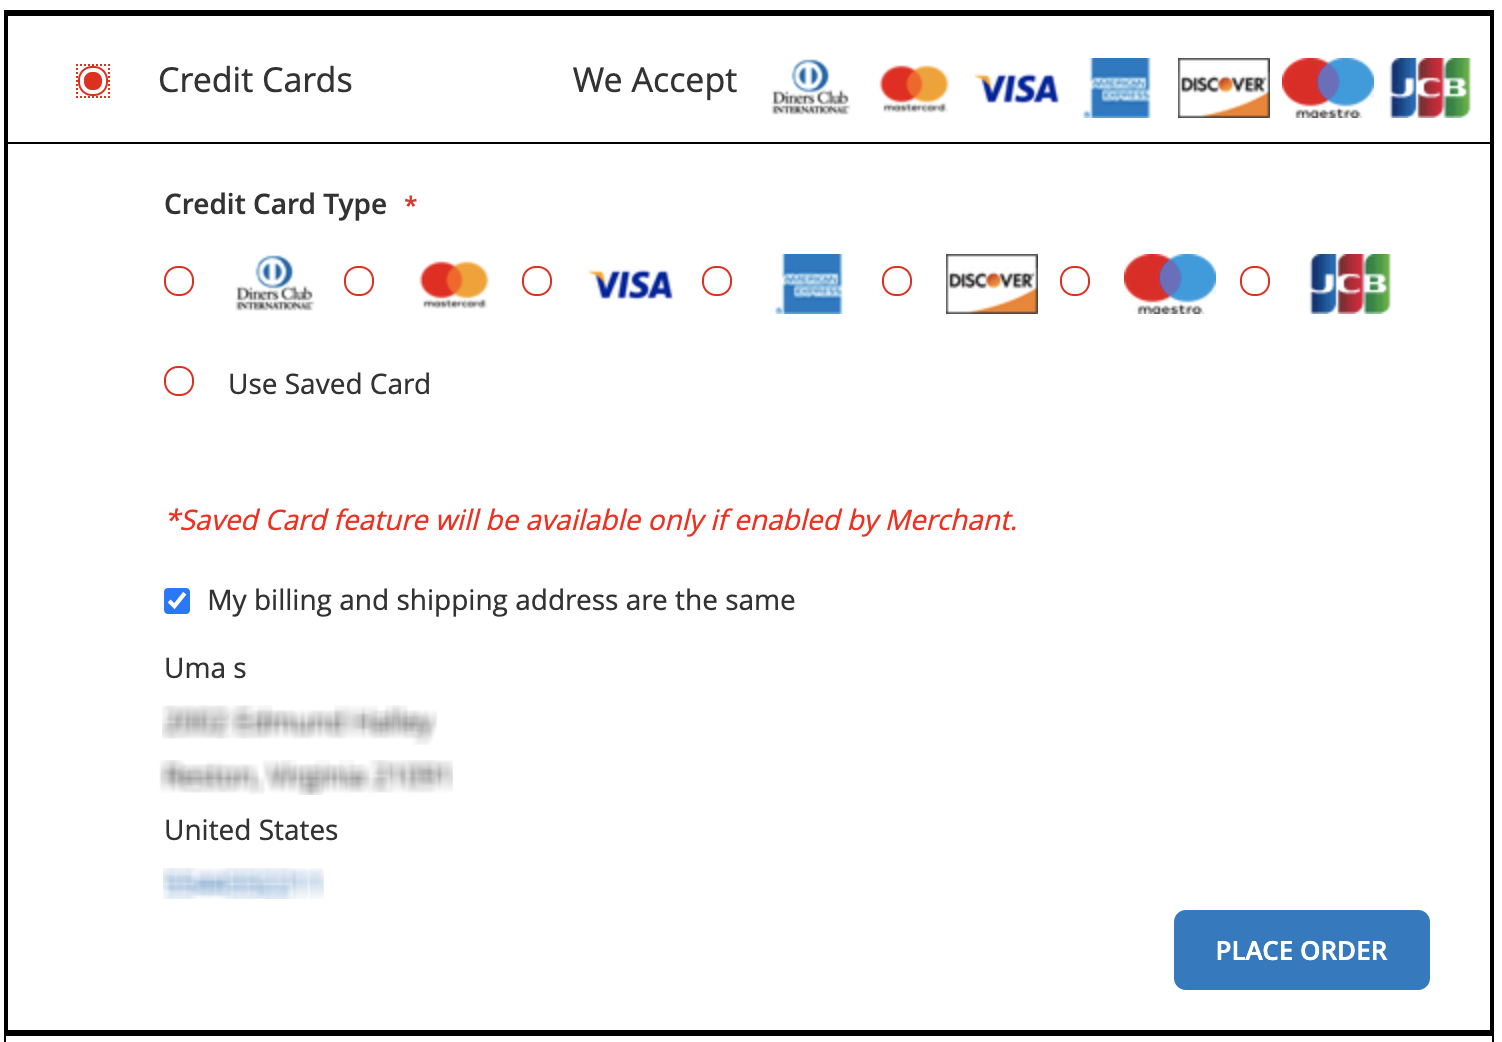
If you have provided a custom label, then this custom label appears to the shopper.

These configurations are only applicable for default labels provided by Worldpay and not for the labels provided by Magento.