Basic configuration
After you have installed the extension do the following:
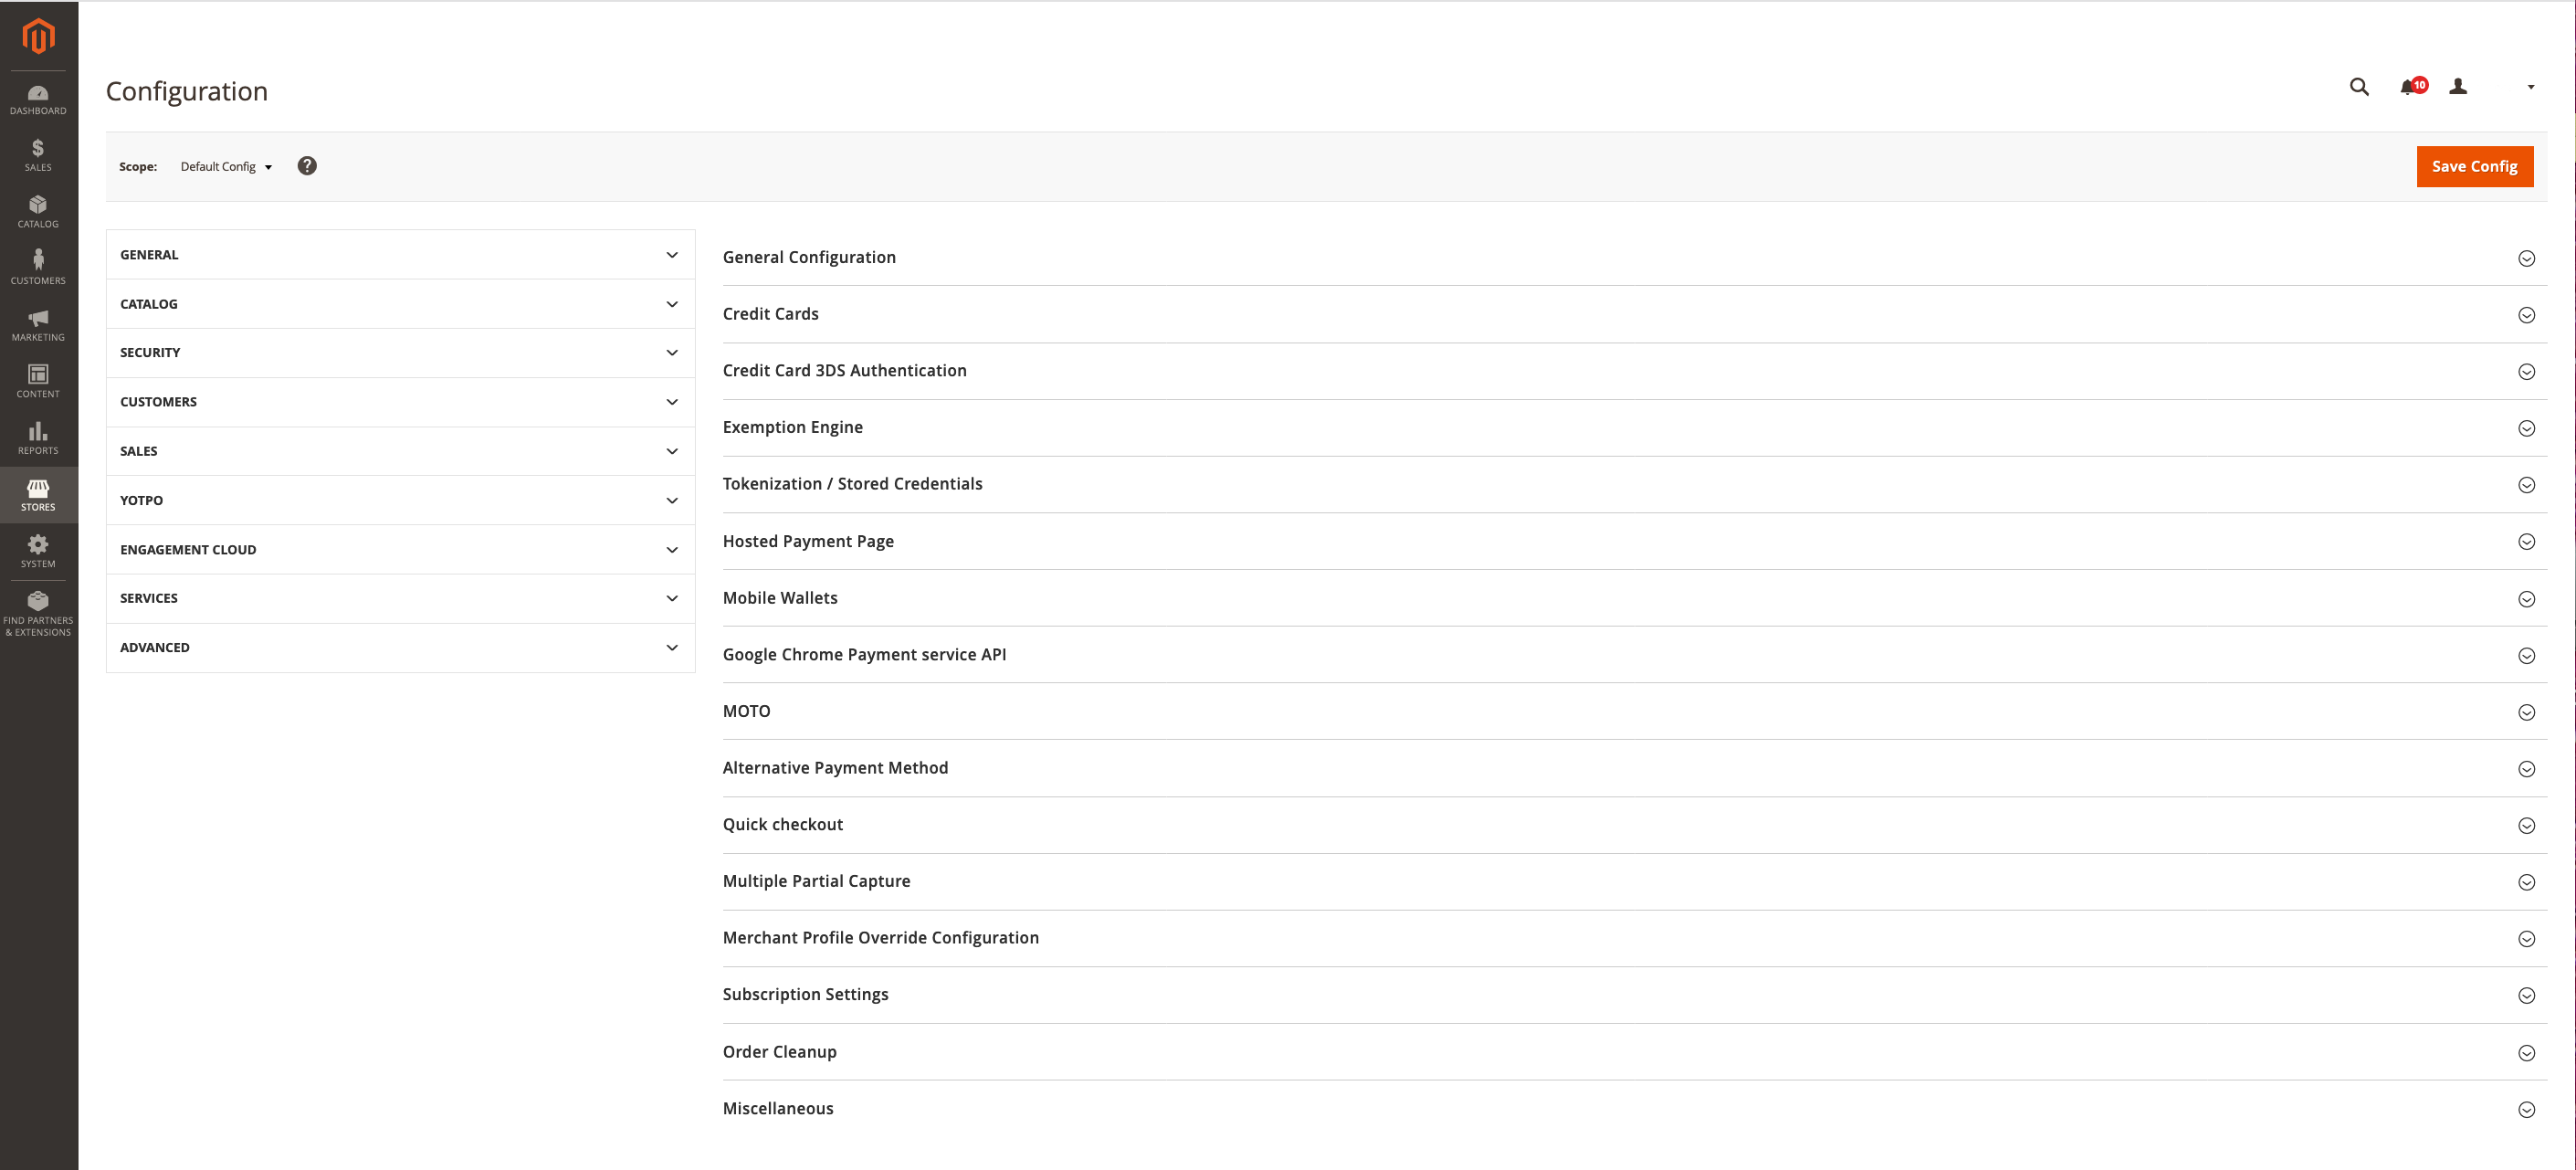
- Go to: Stores/Configuration/Sales/Worldpay
General configuration
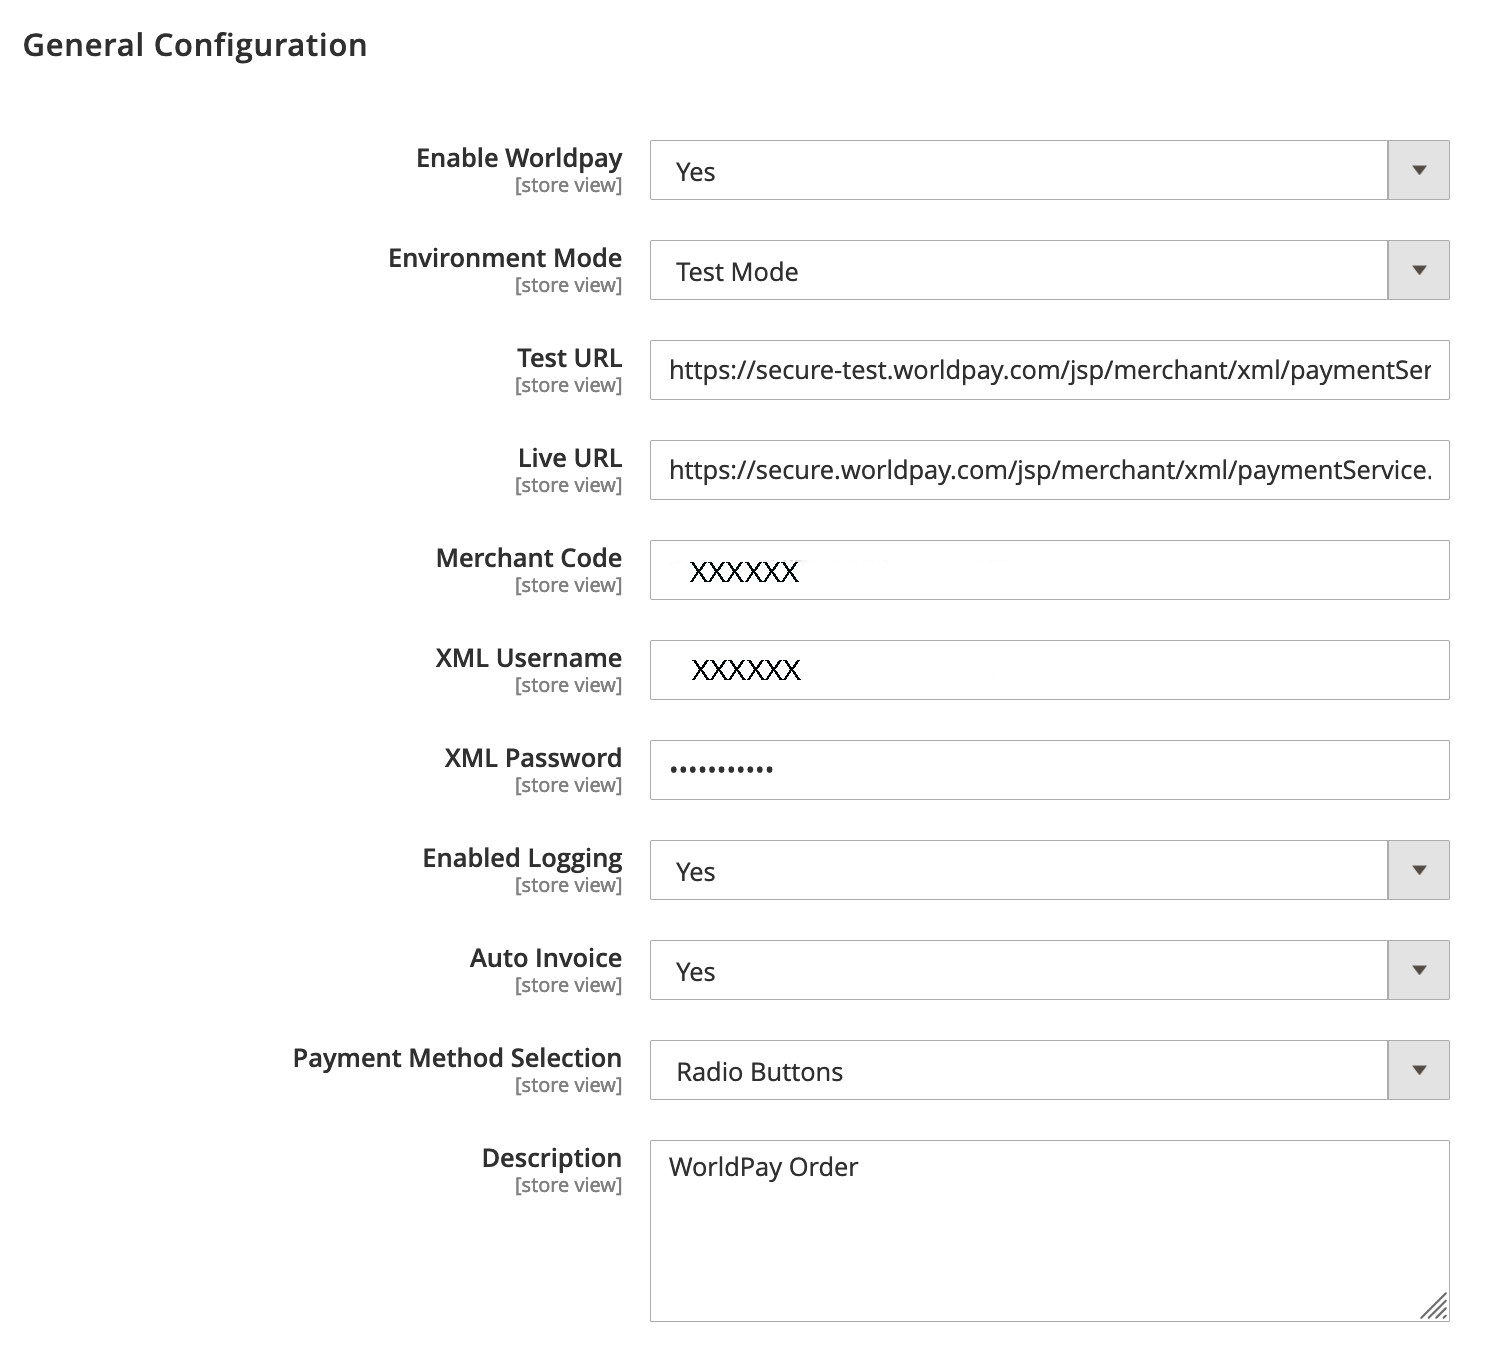
The table below describes all the fields, and what you need to input to complete basic configuration.
| General configuration settings | Description |
|---|---|
| Enable Worldpay | When set to Yes, merchants can use the Worldpay Payment Gateway to process transactions at checkout. |
| Environment mode | Toggles between test and live modes. Set it to Live after testing is completed and before production launch. |
| Test URL | The Worldpay test environment's URL. |
| Live URL | The Worldpay production environment's URL. |
| Merchant code | Your Worldpay merchant code, which your Worldpay support contact provides. |
| XML username | Your Worldpay XML username, which you will find in the Worldpay Merchant Admin Interface. |
| XML password | Your Worldpay XML password, which you can set in the Worldpay Merchant Admin Interface. |
| Enable Logging | If this is enabled, all requests and responses, along with other debug information, are logged at the Magento2Root/var/log/worldpay.log file. You should disable logging on production and enable it on staging for debugging. If you are troubleshooting, you might be asked to enable this feature. |
| Auto invoice | If set to Yes, Magento automatically creates an invoice. This occurs so long as Worldpay authorises the transaction and sends a Capture request. If set to No, an invoice is not created until a capture order notification is received. |
| Payment method selection | This has two options: you can display payment methods as radio buttons or dropdowns in the payment section. |